
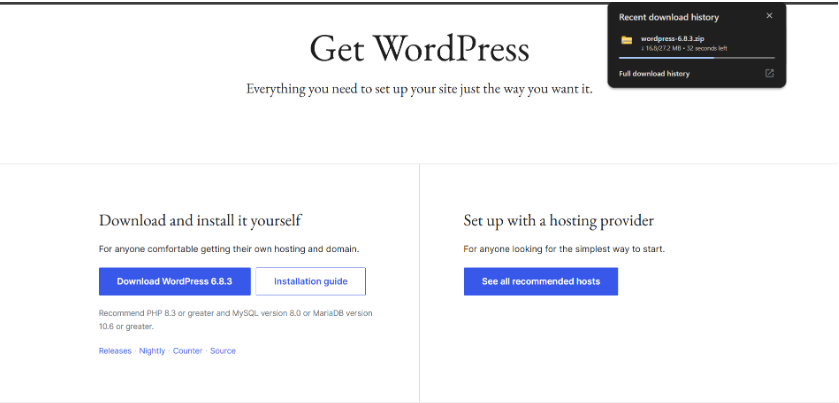
Step 1: Download the Latest Version of WordPress
- Visit the official WordPress website: https://wordpress.org/download
- Click on the Download WordPress button to get the latest version as a .ZIP file.
- Save it to your local computer (e.g. in your Downloads folder).
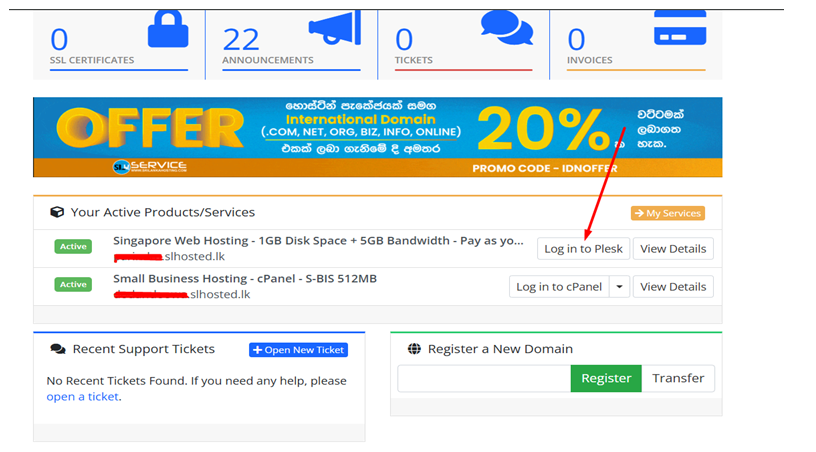
Step 2: Log in to Your Plesk Control Panel
- Open your web browser and go to SriLankaHosting.lk ‘s Plesk login page.
- Enter your username and password to sign in.
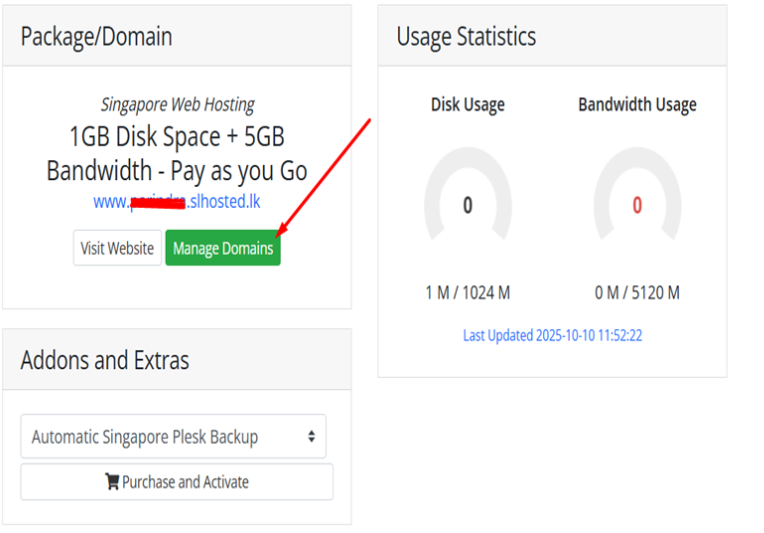
Step 3: Open the Domain Management Section
- From the left-hand menu, go to Manage Domains or Websites & Domains.
- Select the domain name where you want to install WordPress.
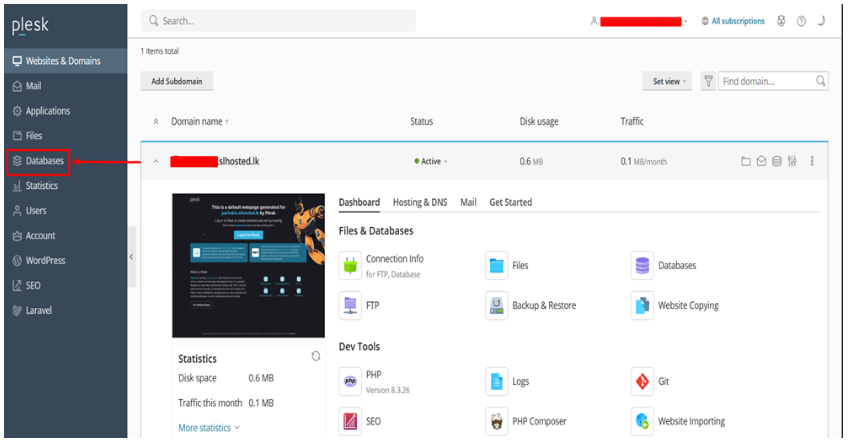
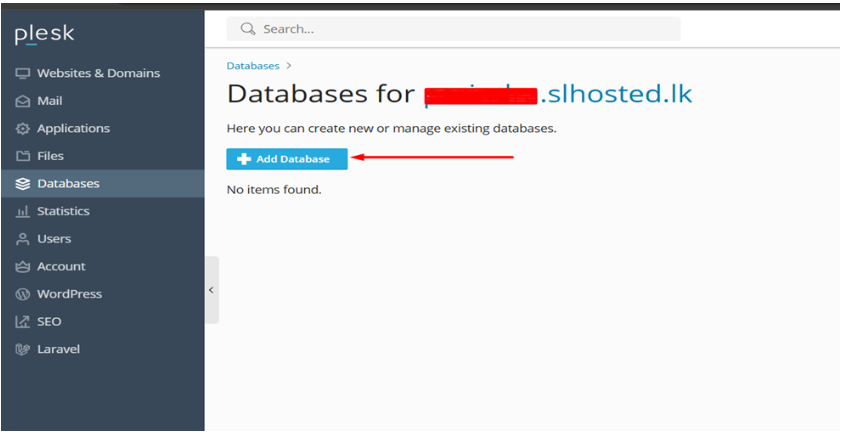
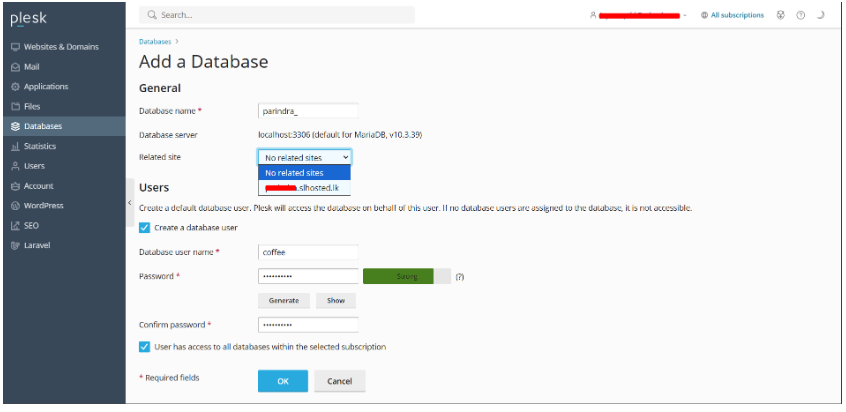
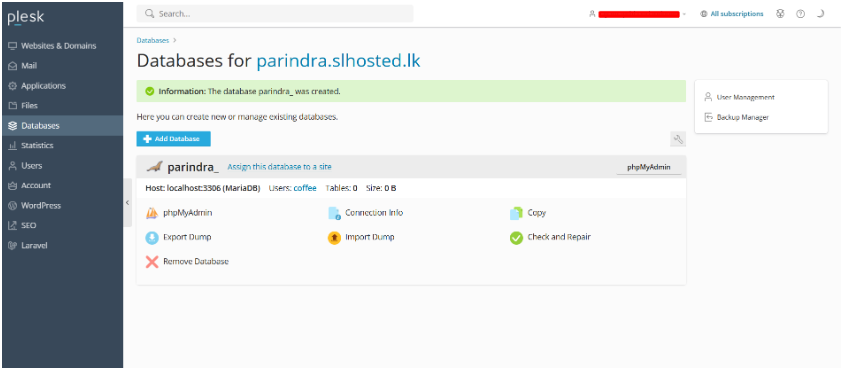
Step 4: Create a New Database
- In your Plesk panel, go to Databases and click Add Database.
- Fill out the database details:
- Database name: Ex – wordpress_db
- Database user: Ex – wp_user
- Password: (Create a strong password and confirm it.)
- Select your website from the dropdown to link the database with your domain.
- Make sure to note down the database name, username, and password — you’ll need them later to configure WordPress.
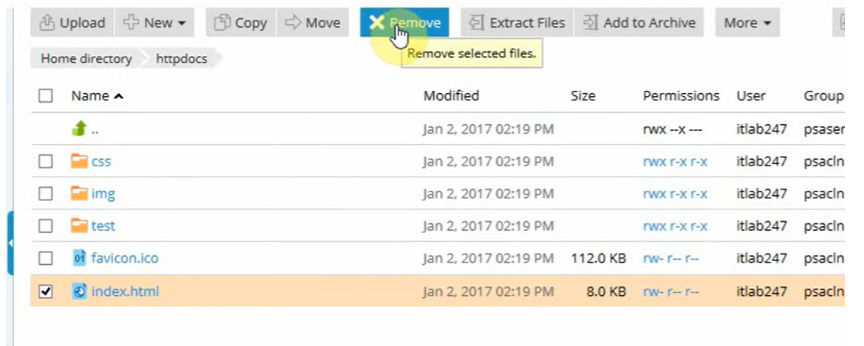
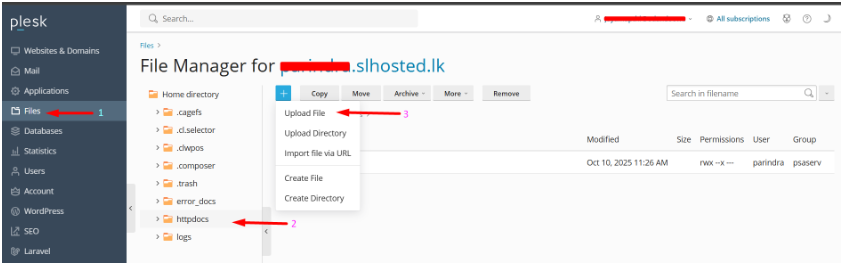
Step 5: Upload WordPress to Plesk
- From the main menu, go to Files → httpdocs
- If you see a file named index.html, delete it to avoid conflicts with WordPress.
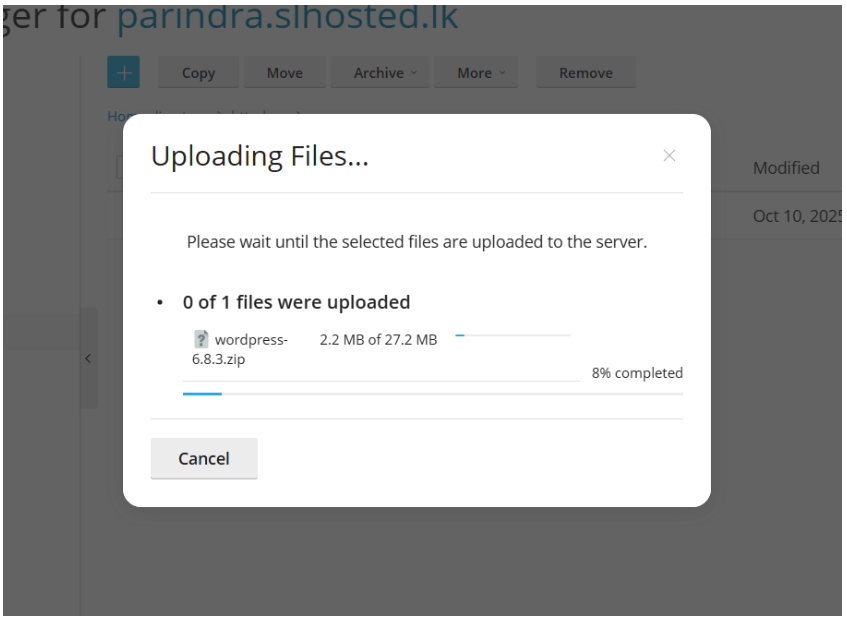
- Inside /httpdocs/, click the + button to upload files.
- Select the WordPress ZIP file you downloaded earlier and upload it.
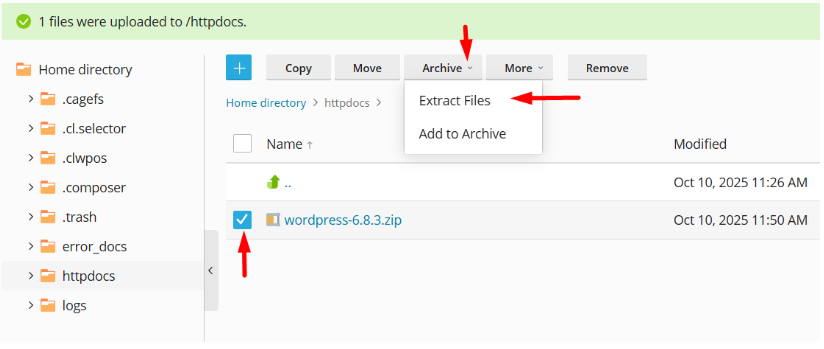
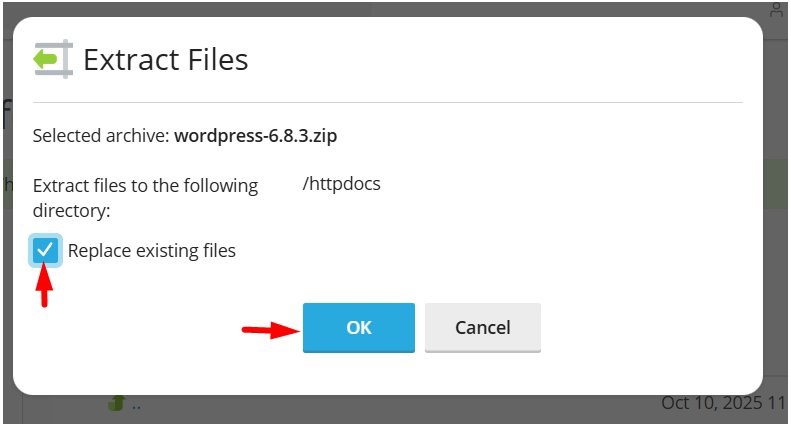
- Once uploaded, select the file and click Extract Files to unpack WordPress.
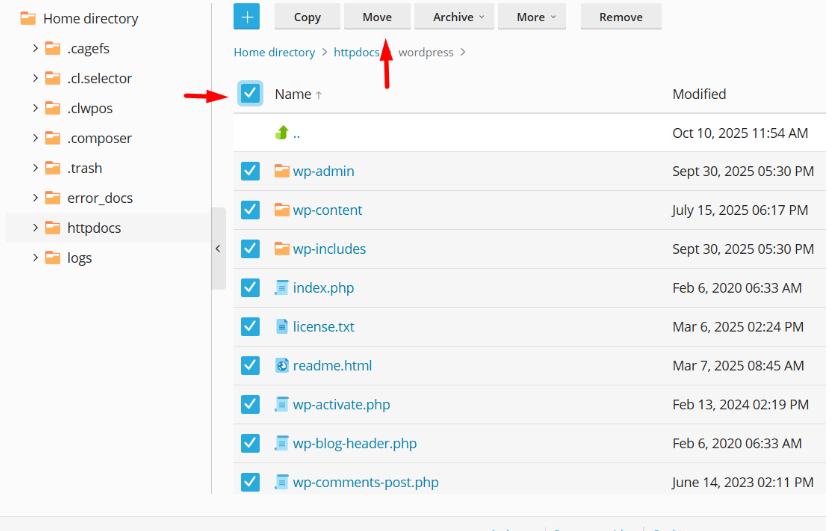
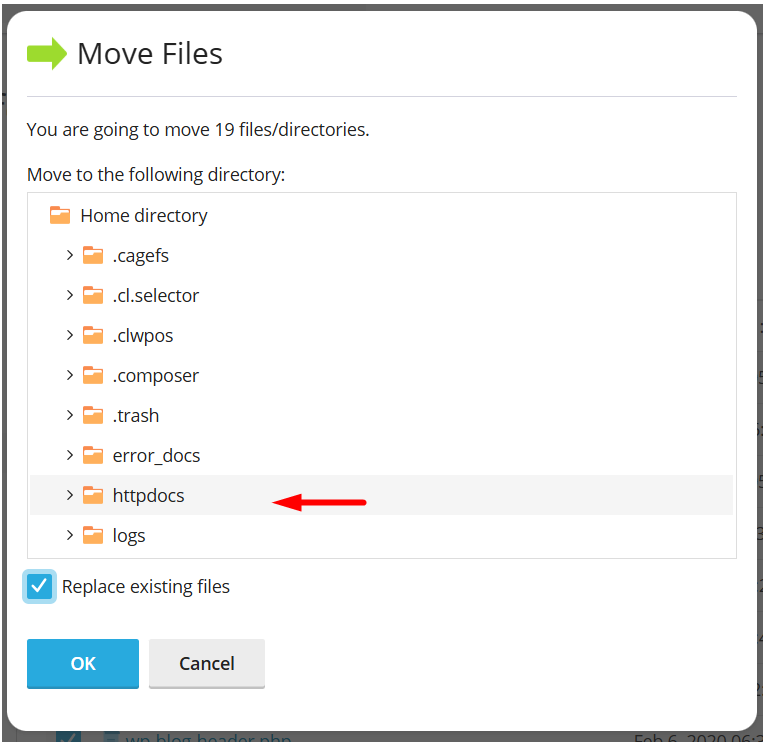
Step 6: Move WordPress Files to the Root Folder
- After extraction, if WordPress files are inside a subfolder (such as /httpdocs/wordpress/ ), move all files and folders from that directory into /httpdocs/
- This ensures your site loads directly at your domain (e.g., https//:yourdoamin.com)
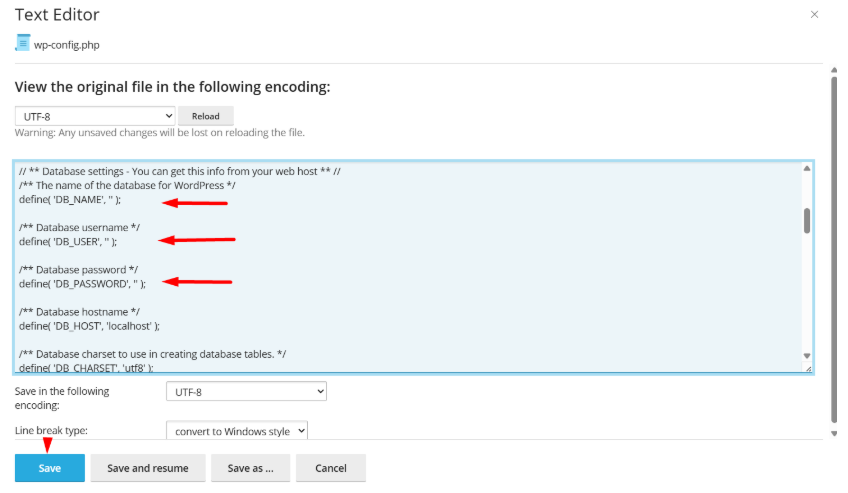
Step 7: Configure
- Locate the /wp-config-sample.php/ file in the uploaded WordPress Home directory.
- Rename it to /wp-config.php/
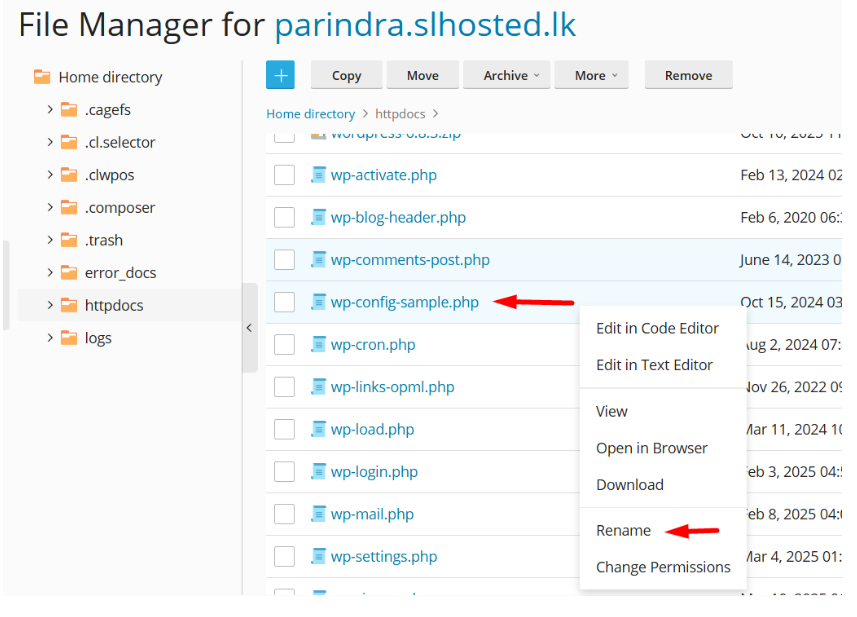
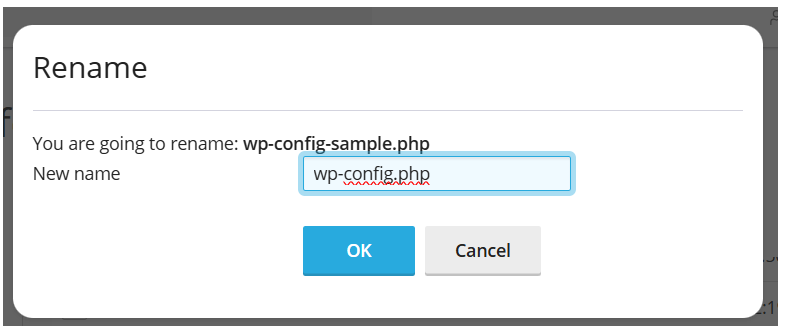
- Edit /wp-config.php/ using a text editor or Plesk’s File Manager editor.
- Locate the following lines and replace the placeholder values with your database credentials and save the changes.
- That you are. Note down the Database name, Username, and Password.
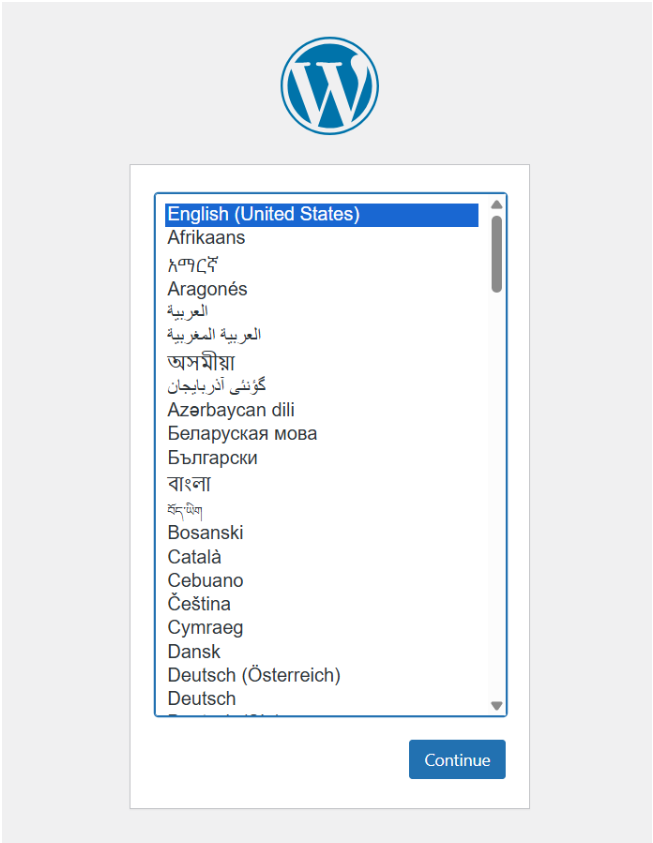
Step 8: Run the WordPress Installation Script
- Open your web browser and visit your domain (ex: https://yourdomain.com)
- The WordPress setup page will appear automatically.
- Choose your preferred language and click Continue.
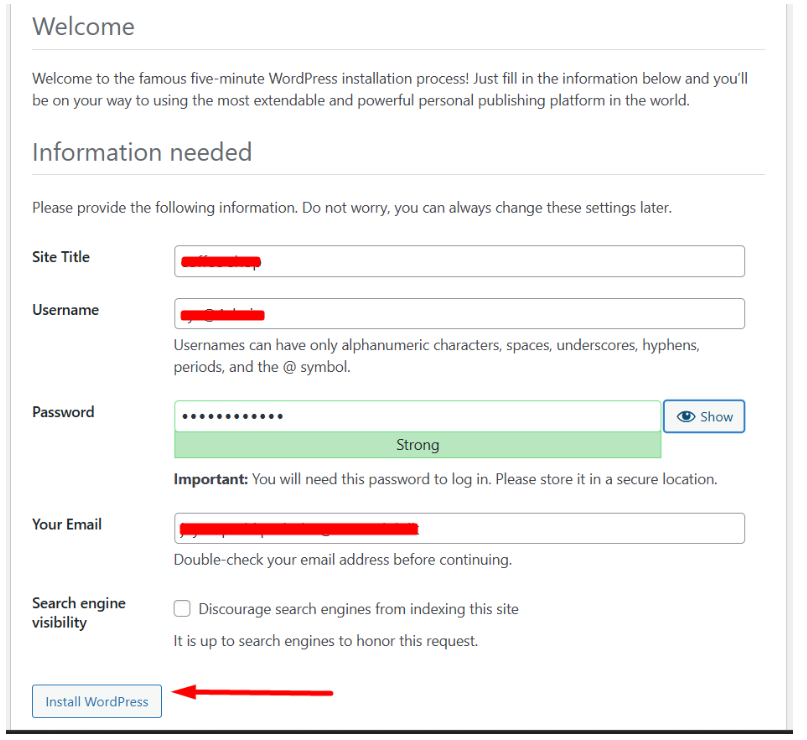
Step 9: Complete the Installation Form
- Fill out the following details,
- Site Title: Your website name.
- Username: The admin username for your WordPress dashboard.
- Password: Choose a strong password.
- Email Address: For admin notifications and password recovery.
- Click Install WordPress to finish the setup.
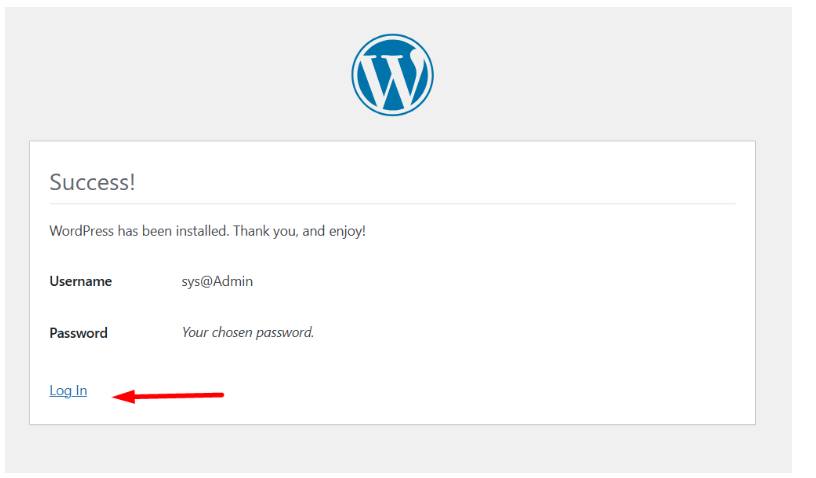
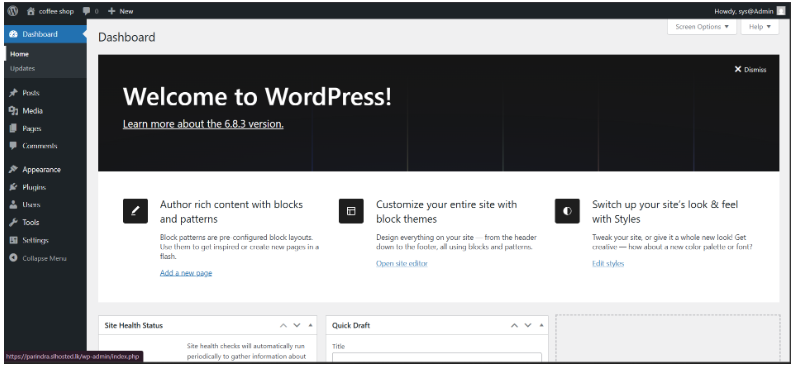
Step 10: Log in to WordPress
- After installation, you’ll see a success message.
- Click Log In to access the WordPress Admin Dashboard at:
ex: https://youedomain.com/wp-admin
- Use the username and password you created in the previous step.
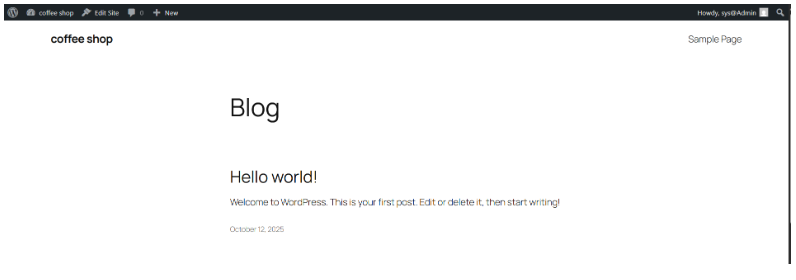
Step 11: Visit Your Website and Dashboard
- Once logged in, you can access both:
- Dashboard: to manage your website’s content, plugins, and themes.
- Website: to view your live site.
Step 12: (Optional) Enable SSL/TLS Certificate
- To secure your website with HTTPS, enable SSL from your hosting control panel.
- You can follow this step-by-step guide.
Enable SSL in Plesk – Sri Lanka Hosting Knowledge Base


