
Step 1 – Visit https://www.srilankahosting.lk/
Step 2 – Select Web Hosting–> Student Web Hosting
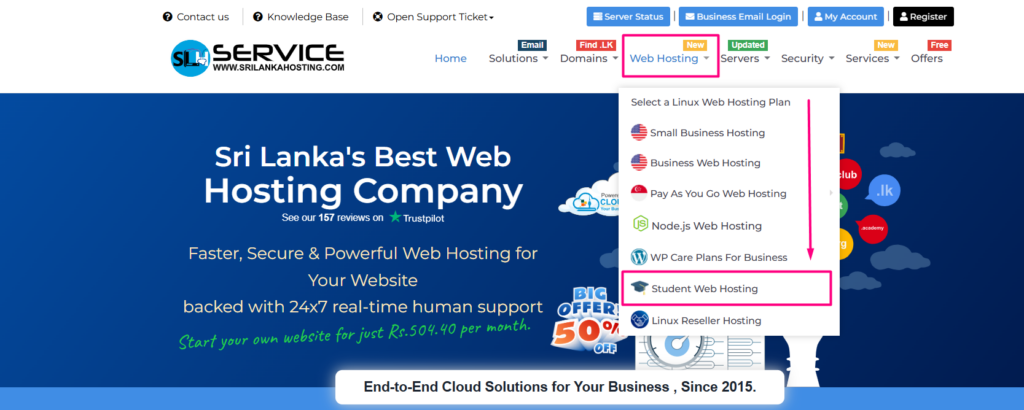
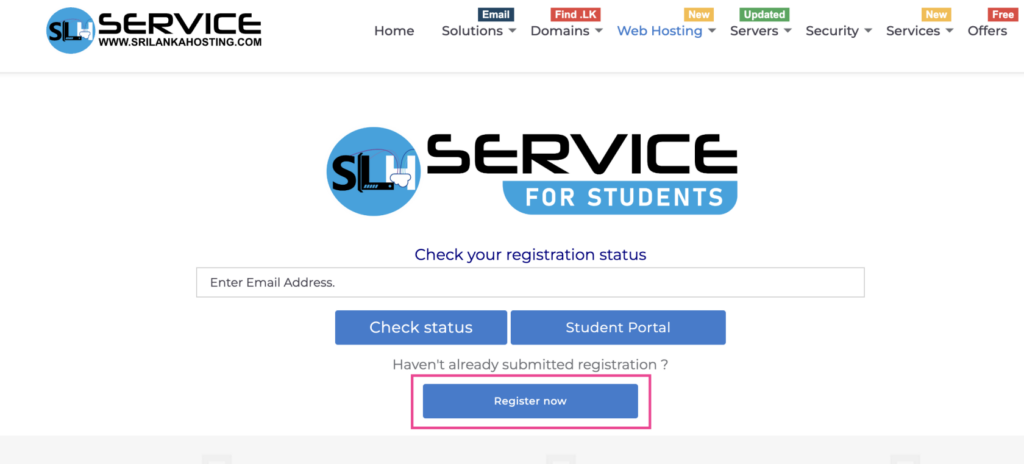
Step 3 – Register the service
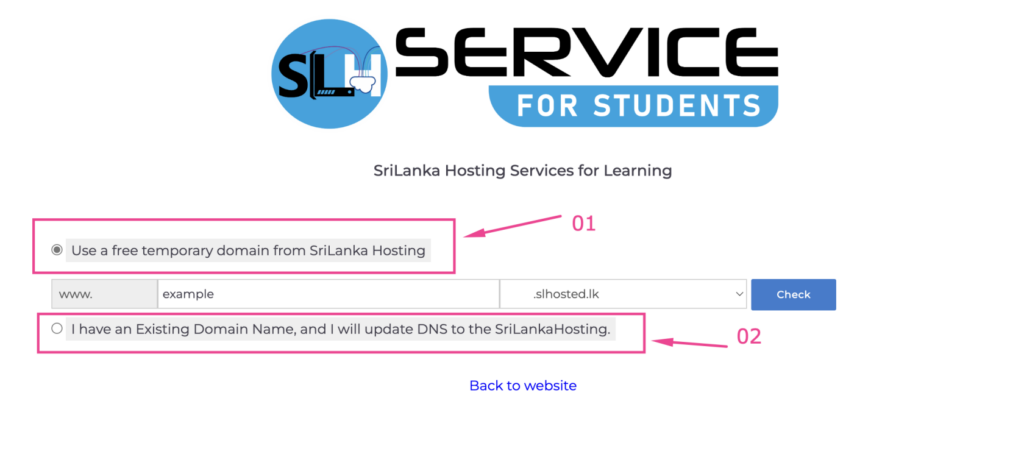
Step 4 – Assign domain name
- If you are looking for continue with free temporary domain name, use Option 01 and enter subdomain name to continue.
- If you have an existing registered domain name, use Option 02 and enter domain name to continue.
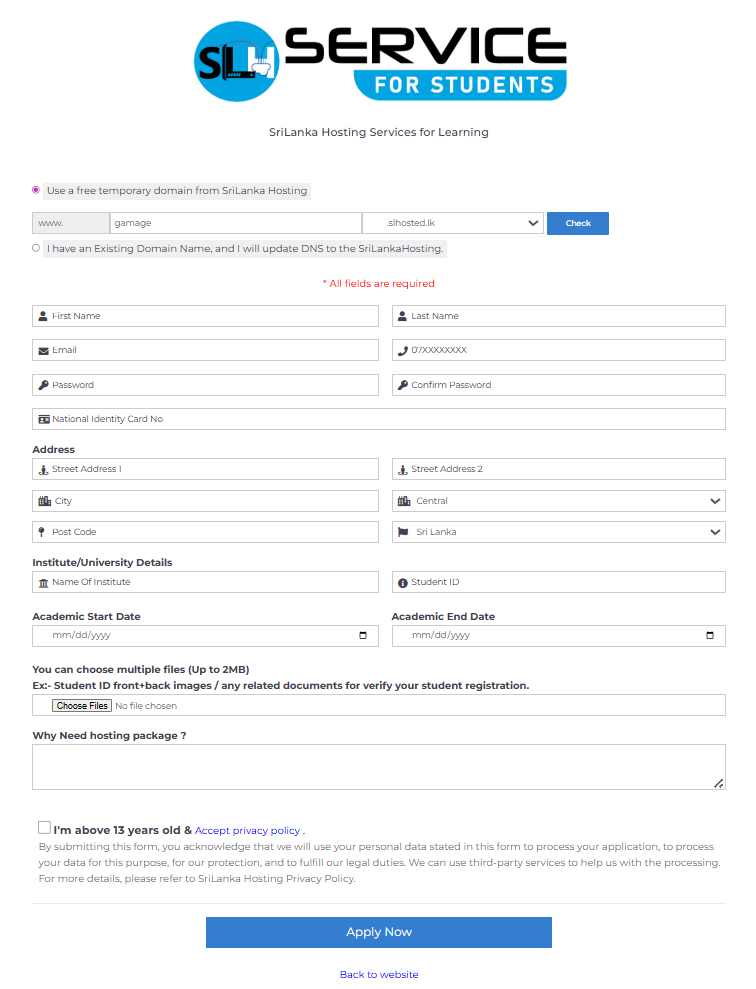
Step 5 – Fill the application
Step 6 – Registration process
- You will be registered for the student web hosting service within maximum 1 – 3 days after filling the above application
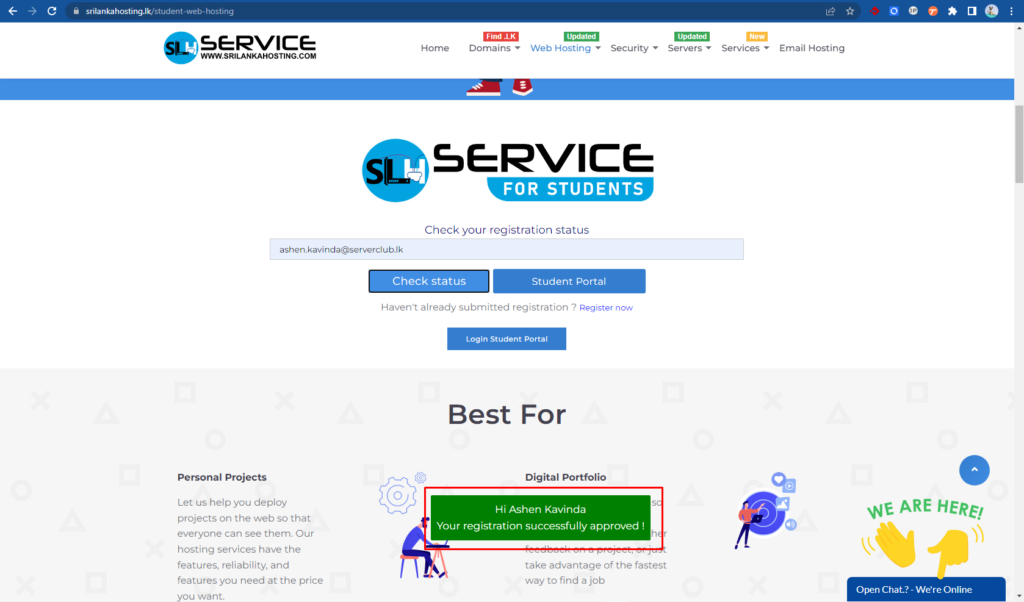
- To check the status, enter your email address as below and click the “Check status” button.
- If the account is created, a registration confirmation message will appear.
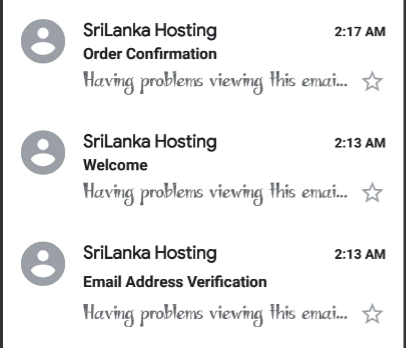
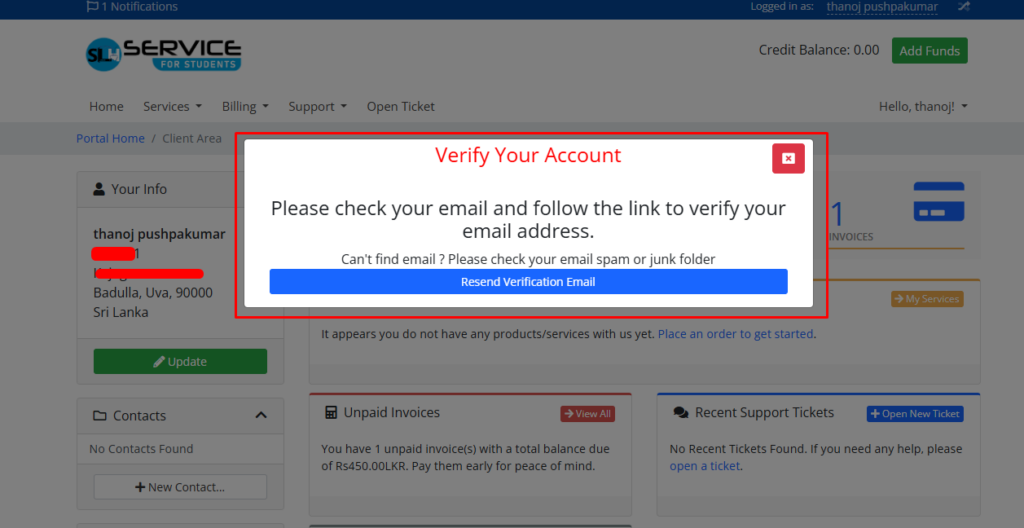
Step 7 – Email address verification
- Once your student registration request verification is completed, you will be notified by email.
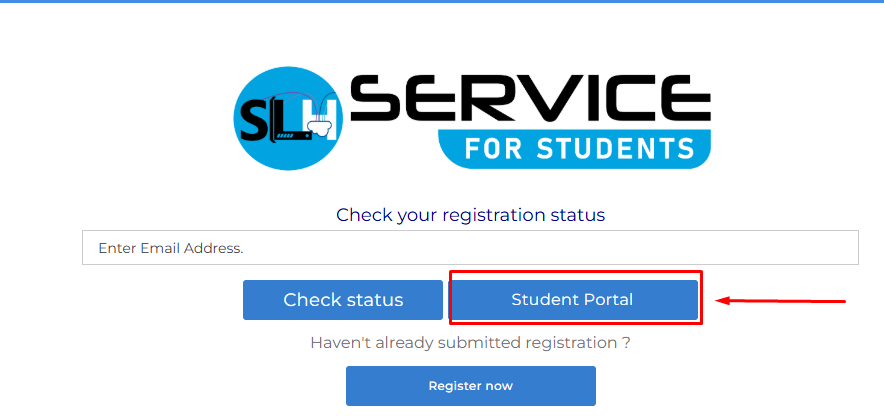
Step 8 – Login to Student Portal
- Visit https://www.srilankahosting.lk/
- Select Web Hosting–> Student Web Hosting
- Select “Student Portal”
4. Enter your email address and password (please use the email address and password provided during form submission).
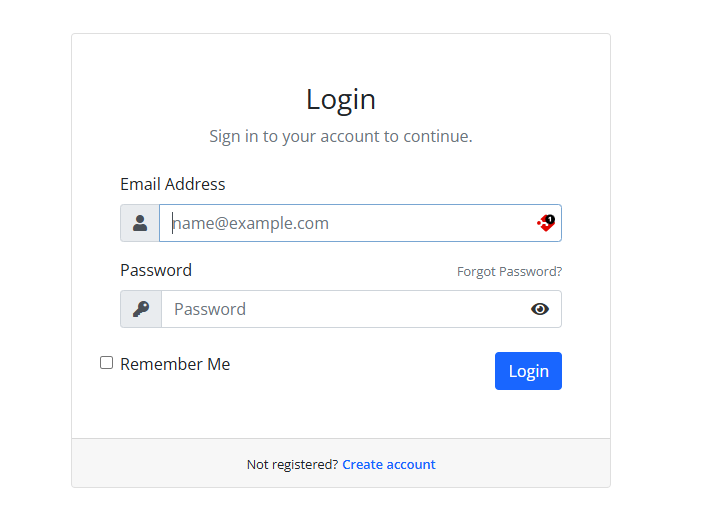
5. Verify your email address.
6. Complete your payment to activate your service.
- To find your invoice: Billing –> My invoices
7. Once complete your payment you will receive payment confirmation and Your Student hosting package “New account information” email.
