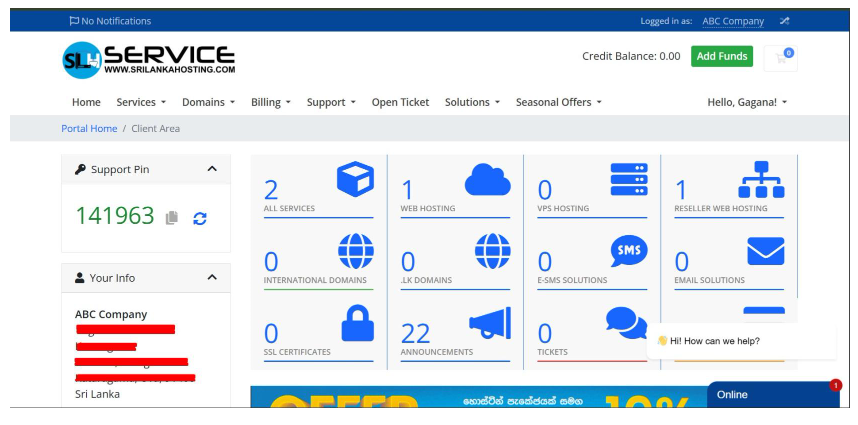
Step 1: Login to client area

- Click on My Account
- Now you have logged to client area.
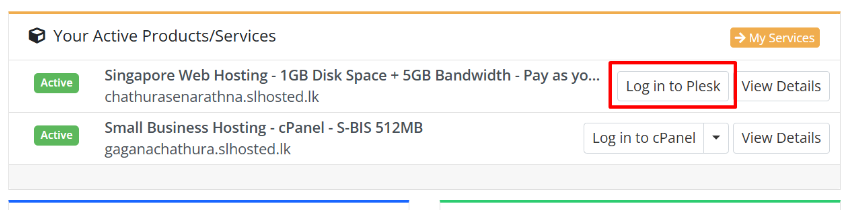
Step 2: Login to Plesk panel
- Click on services My services.
- Now click on service that you want to login plesk.
- Now click login to plesk under the action panel.
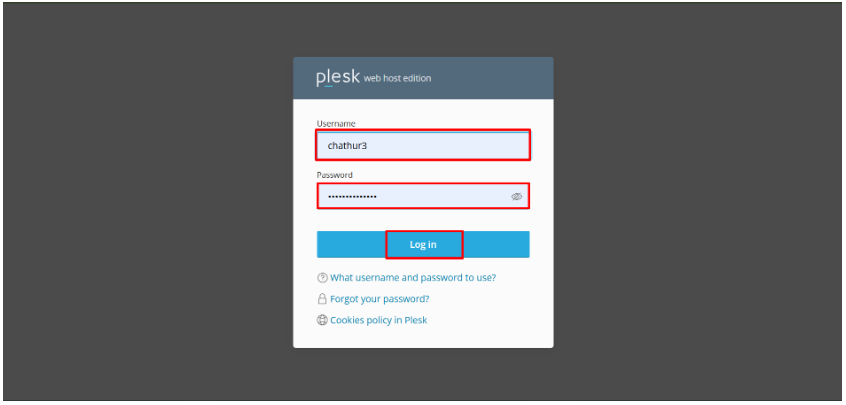
Step 3: Enter login details
- Enter the username and password you received by email.
- Then click on Log in and you can log to plesk.
Step 4: Now you are in the Plesk dashboard
- The Plesk dashboard lets you manage your websites, emails, databases, and applications from one central place.
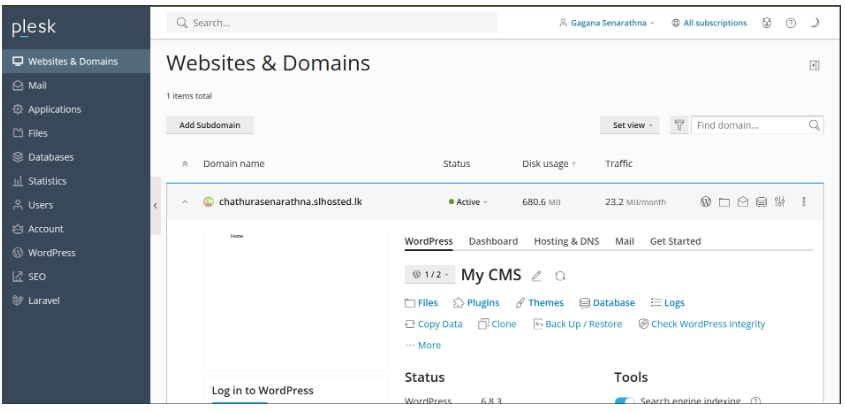
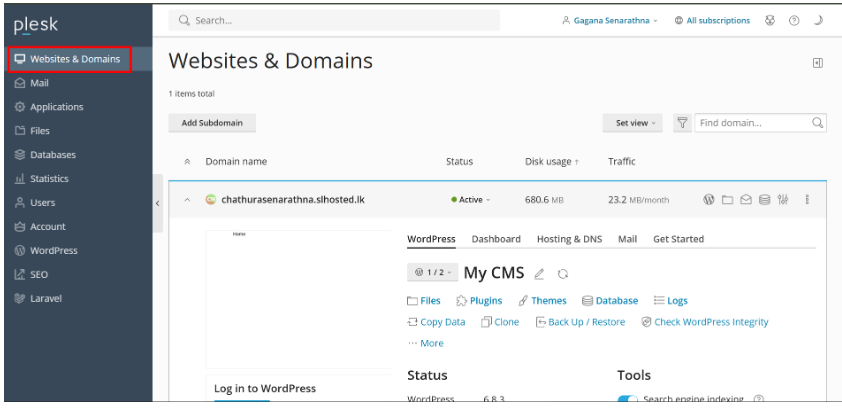
Step 5: Website and Domains
- This is your main control area.
- You can manage your websites, domains, and subdomains.
- Perform key tasks like:
• Upload or edit website files
• Manage DNS settings
• Install SSL certificates (HTTPS)
• Add new domains or subdomains
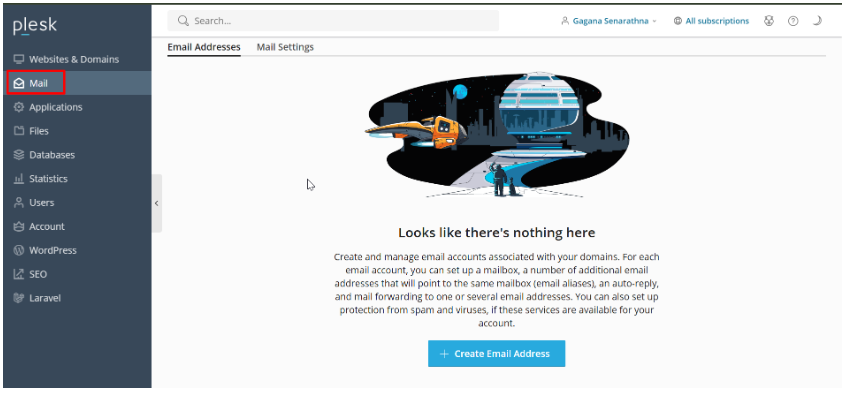
Step 6: Mail Configurations
- Manage your domain email accounts.
- Create, edit, or remove email accounts.
- Set up email forwarding or auto-responders.
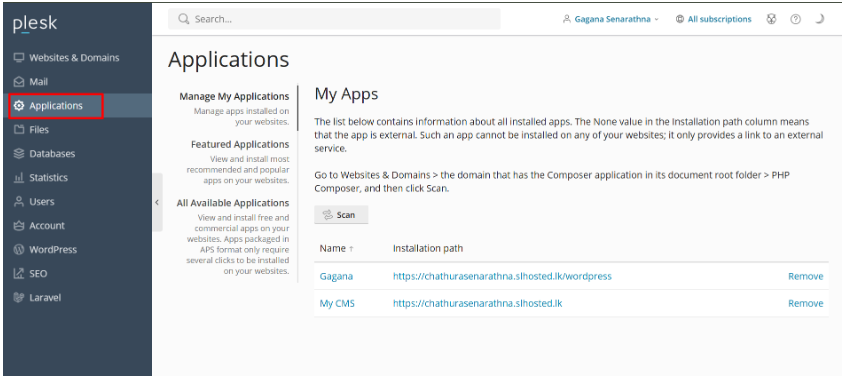
Step 7: Applications
- Popular apps include WordPress, Joomla, Drupal, Moodle, PHP, and more.
- Install apps on your domain or subdomain with a few clicks.Manage app settings, update versions, or remove apps from the same panel.
- Install and manage web applications without technical knowledge.
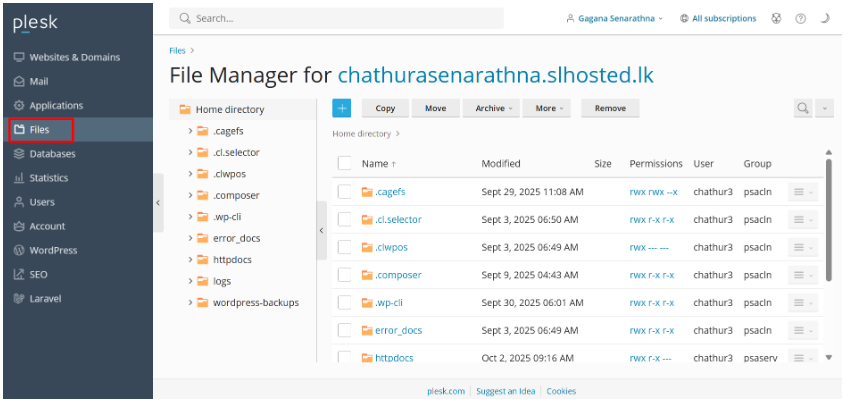
Step 8: Files Configuration
- Let’s you view, upload, edit, rename, or delete website files directly.
- You can create new folders, edit HTML/PHP files, and upload images or backups.
- No need for FTP — it works right in the browser