1. Make sure your Laravel project runs perfectly.
2. Zip your entire Laravel project folder.
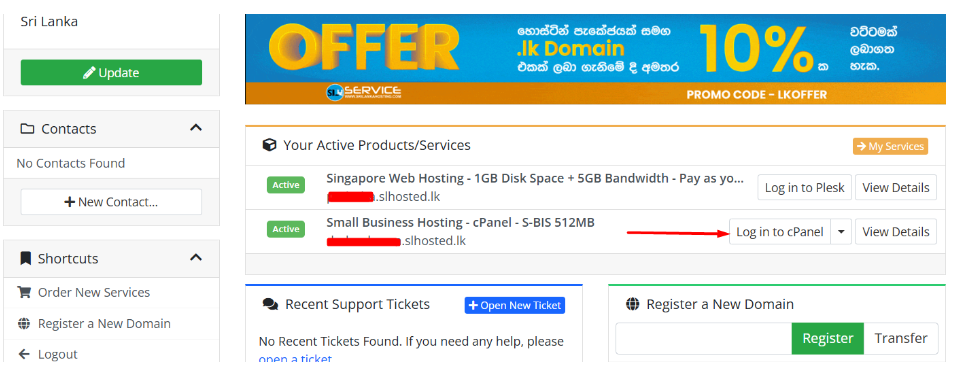
3. Log in to cPanel.
4. Upload and Extract Project Files.
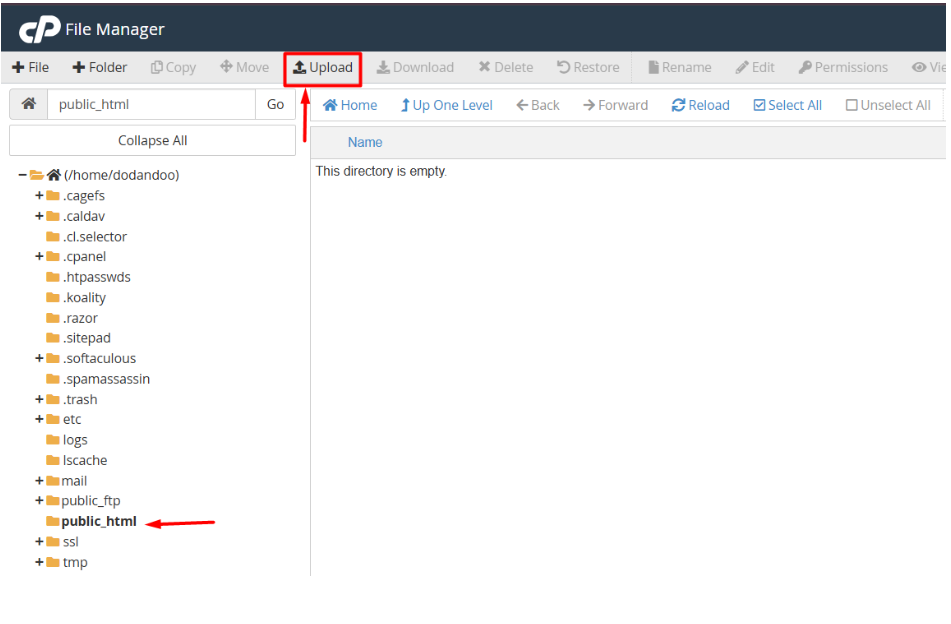
1. Go to File Manager

2. Go to the public_html folder and click the Upload button.
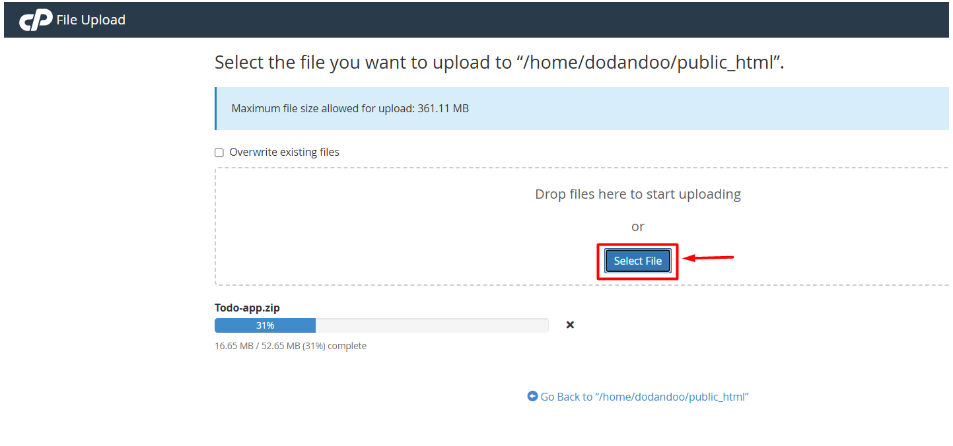
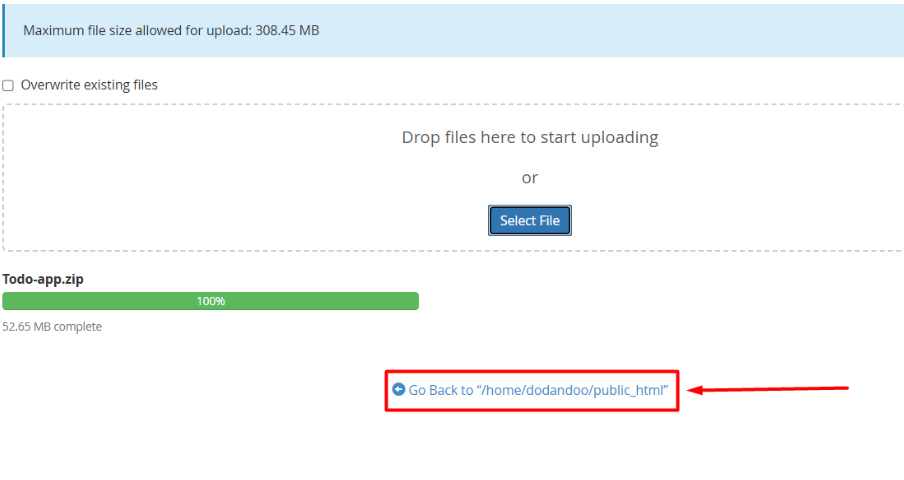
3. Upload your project ZIP file here.
4. After completing the upload, go back to the public_html File.
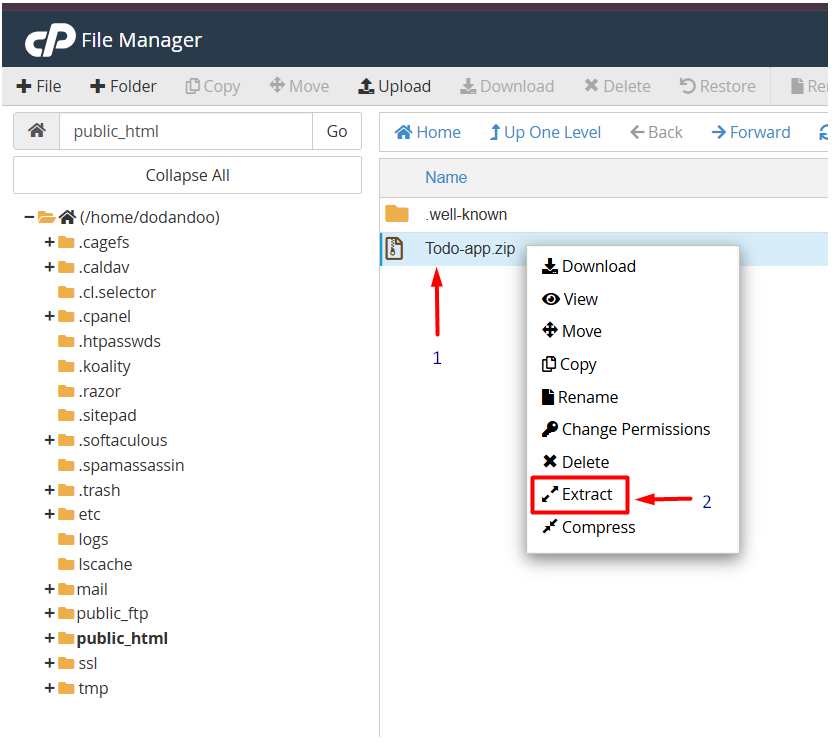
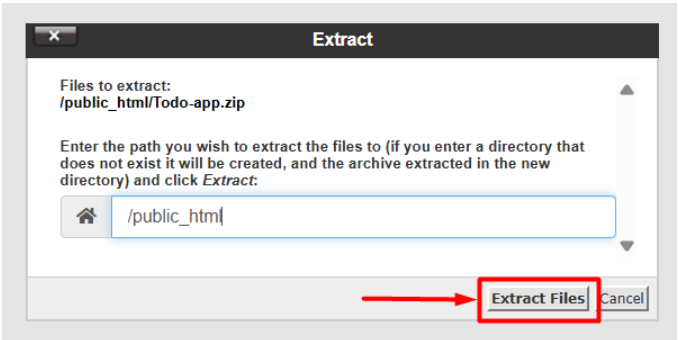
5. Select the ZIP file and click Extract to unzip it.
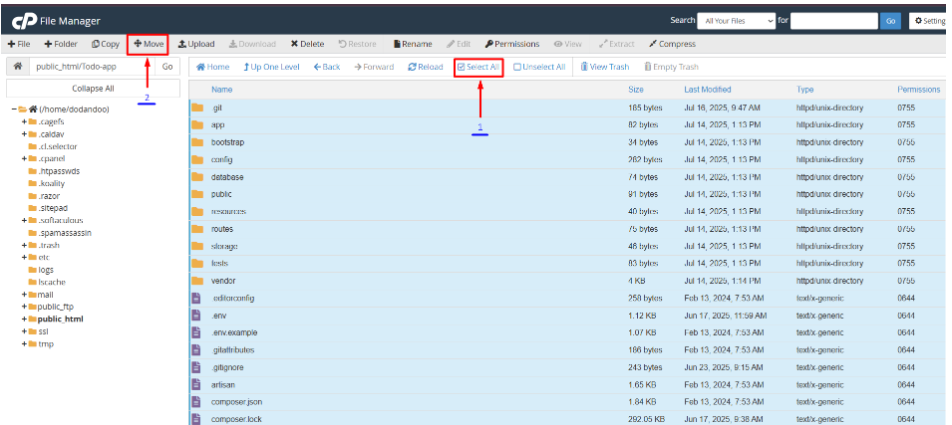
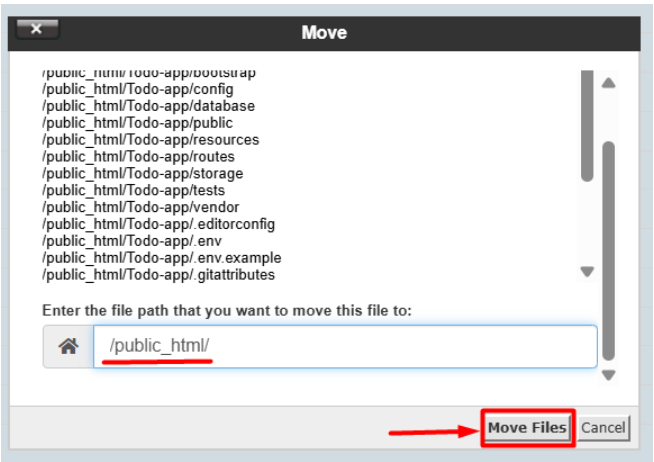
6. After going to the unzipped file, select all the files and move the public_html file directory
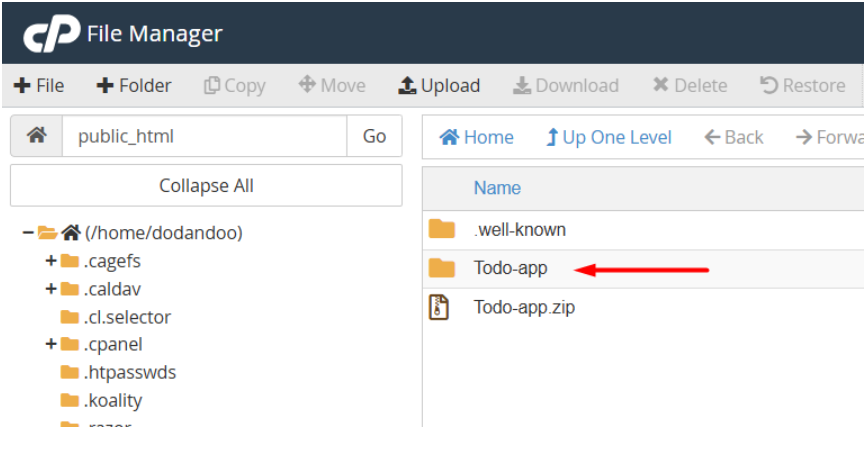
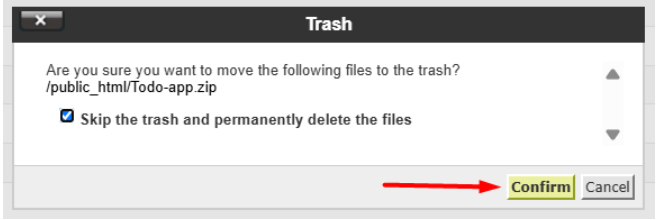
7. We no longer need the project zip file, and we can delete it.

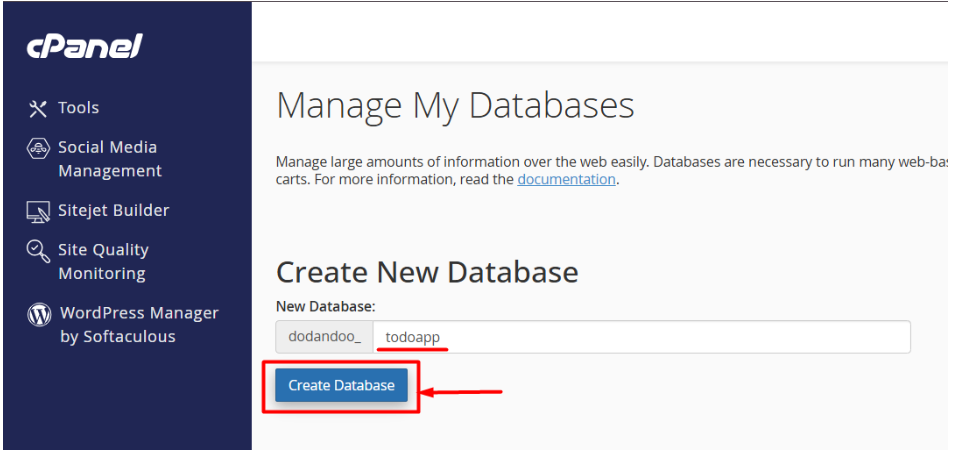
5. Configure the Database.
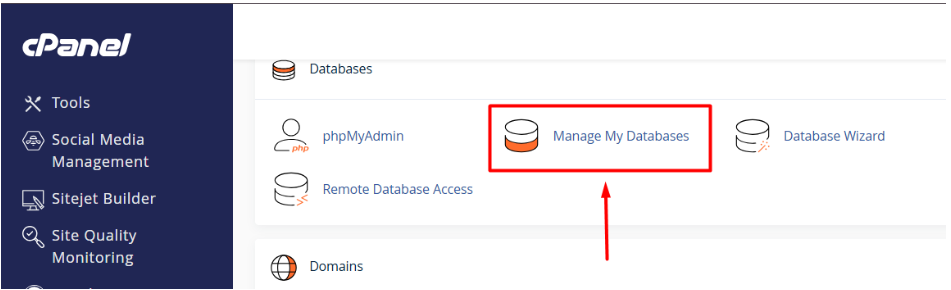
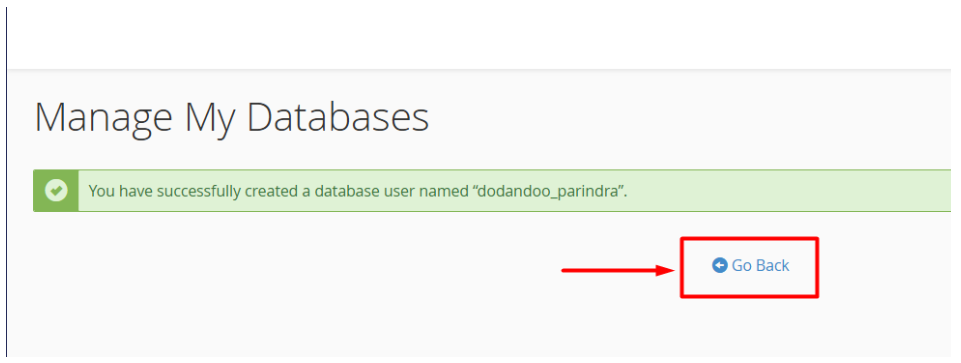
1. In cPanel, go to “Manage My Databases” and create a new database.
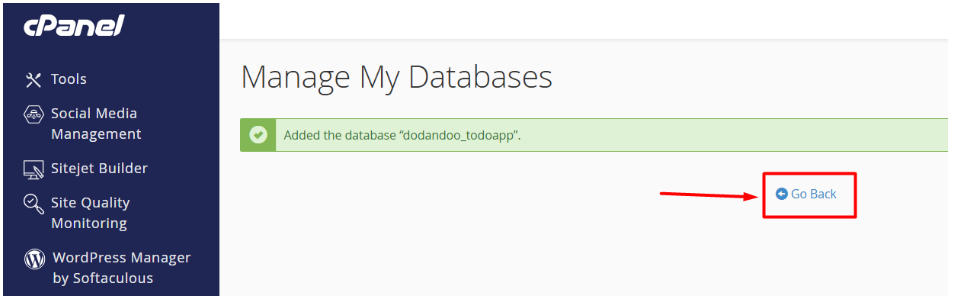
2. Give a name for the database and click Create Database.
3. Then go back to the cPanel dashboard.
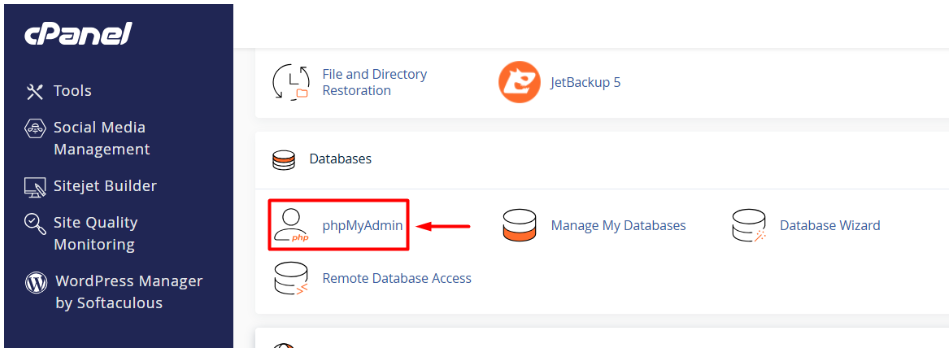
4. Open phpMyAdmin and Verify Your Database.
5. Create a New Database User.
- Scroll down to Database Users.
- Click Add New User.
- Enter a username and a strong, secure password (you can use cPanel’s password generator).
- Click Create User.

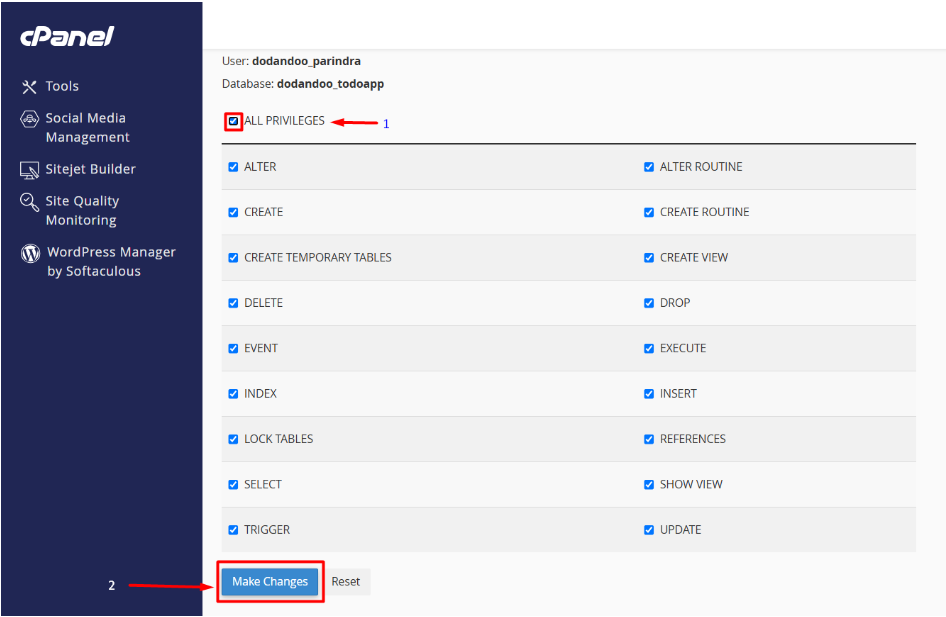
6. Give the User Access to the Database.
- Under Add User to Database, choose the user and the database you just created.
- Click Add.
- On the next screen, select ALL PRIVILEGES — this gives your Laravel app full control over the database.
- Click Make Changes to save.

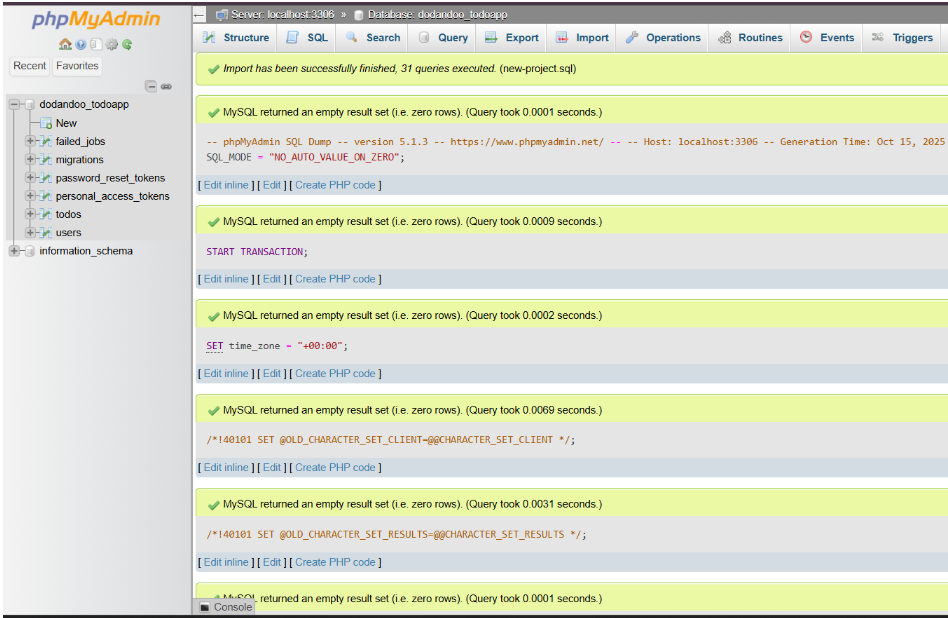
7. Import Your Existing Database.
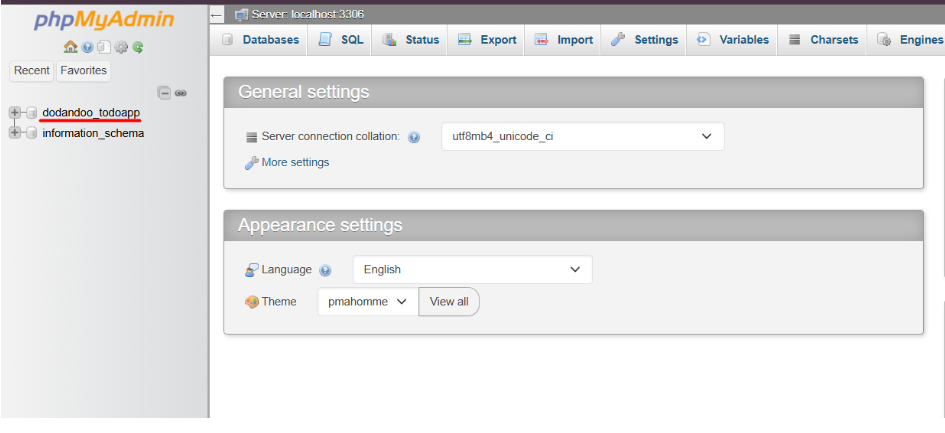
1. Go back to phpMyAdmin in cPanel.
2. Click on your newly created database (1).
3. Select the Import tab from the top menu (2).
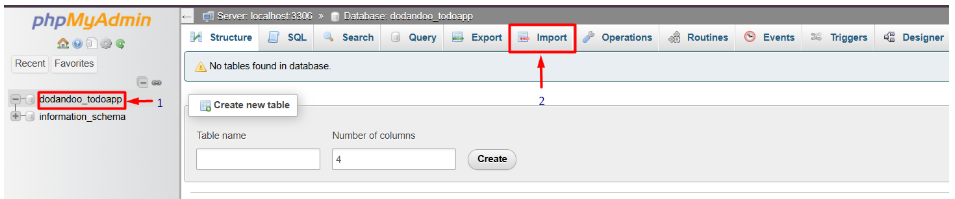
4. Choose your .sql file and click import to start the upload.
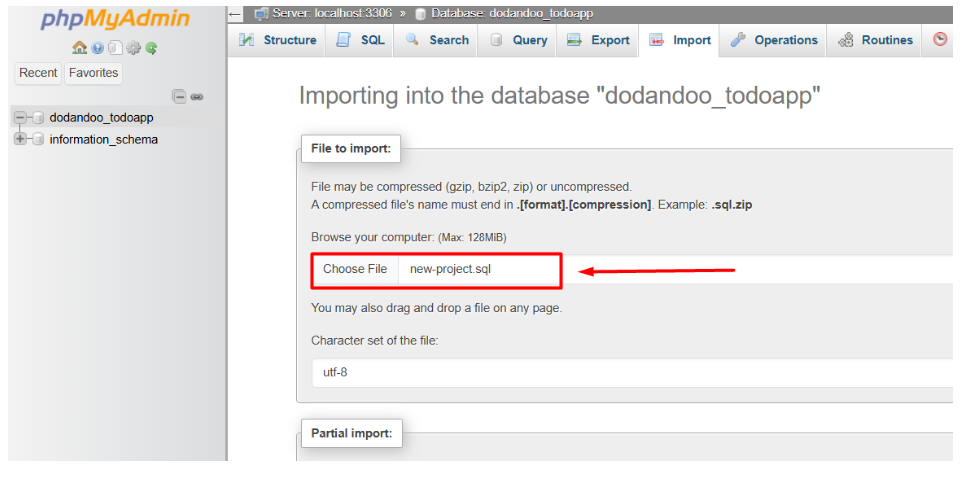
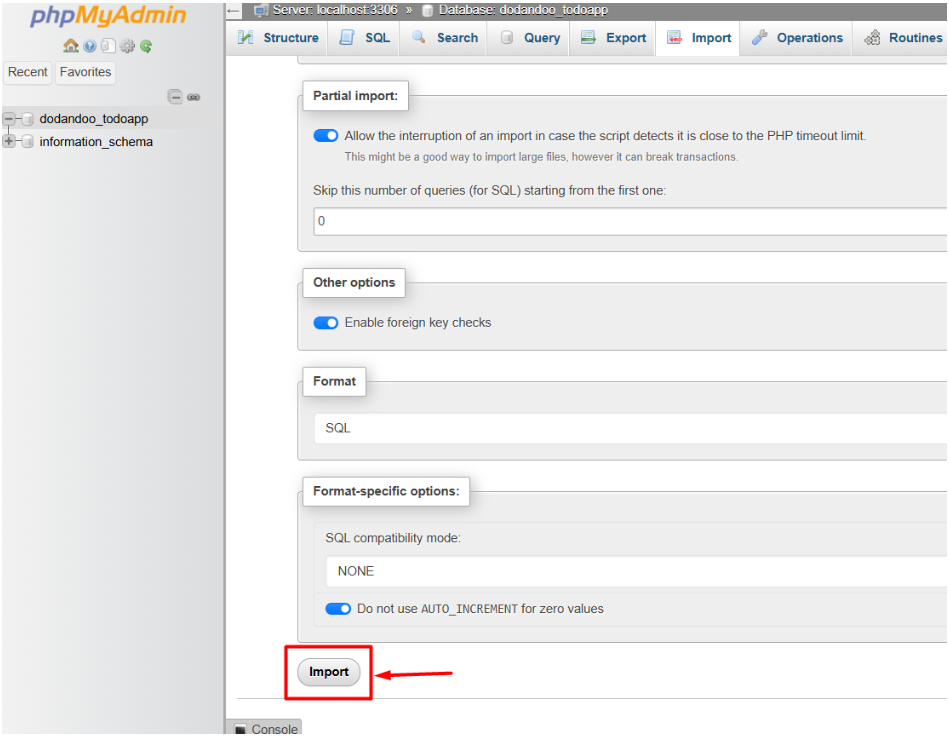
5. Wait for the success message — your tables and data will appear shortly
8. Update Your Laravel .env File.
1. In File Manager, open your public_html folder.
2. Click the Settings button and enable Show Hidden Files to reveal the .env file.
3. Right-click .env → Edit.
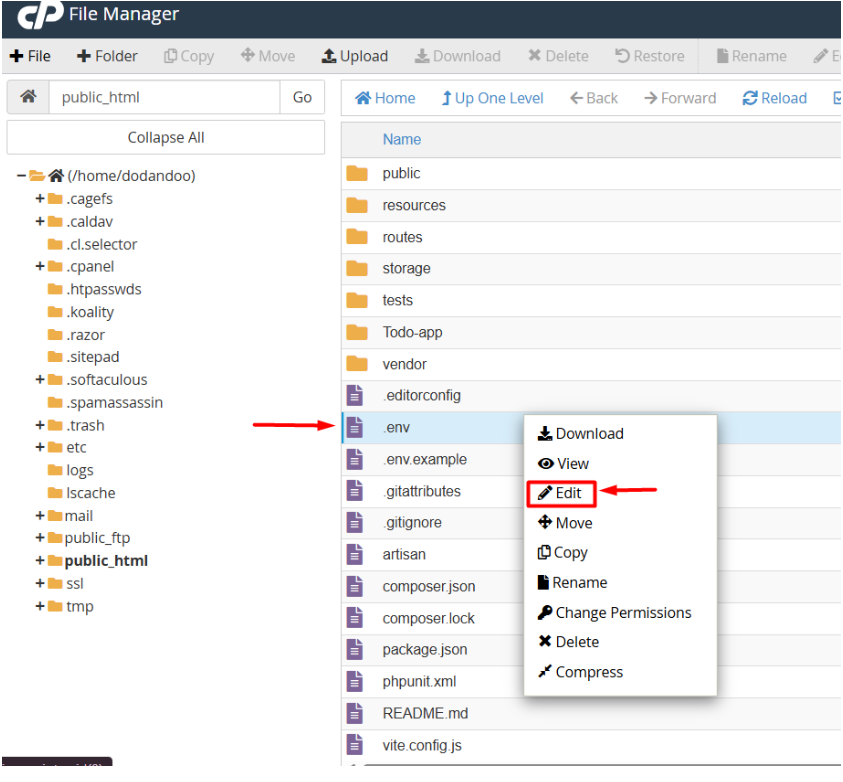
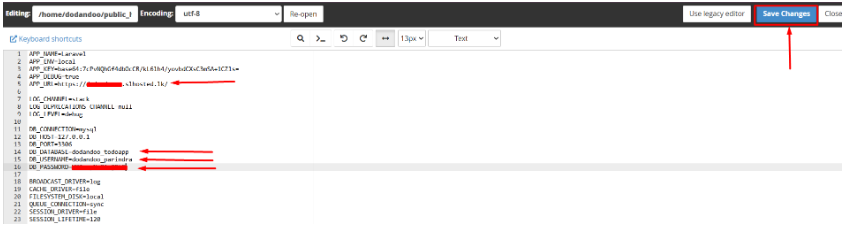
4. Update the following lines with your actual database details and save Changes.
* APP_URL= your Domain
* DB_DATABASE=your_database_name
* DB_USERNAME=your_database_user
* DB_PASSWORD=your_strong_password
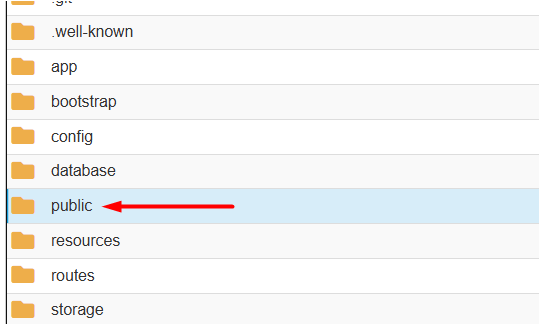
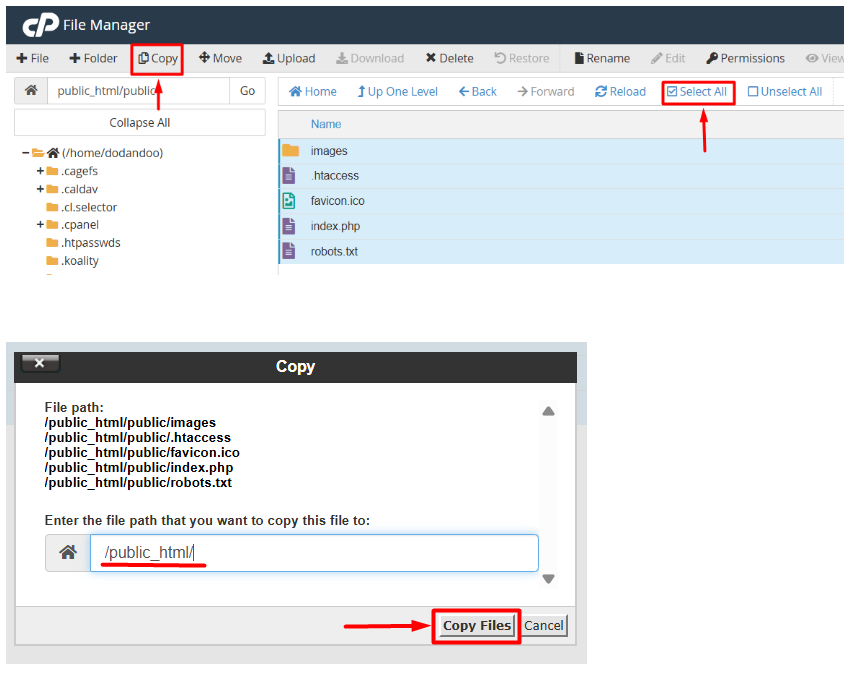
9. After going to the public folder, select All files and copy to the /public_html/ folder.
1. Edit index.php File to Correct Paths
1. Open the public/index.php file in your Laravel project directory
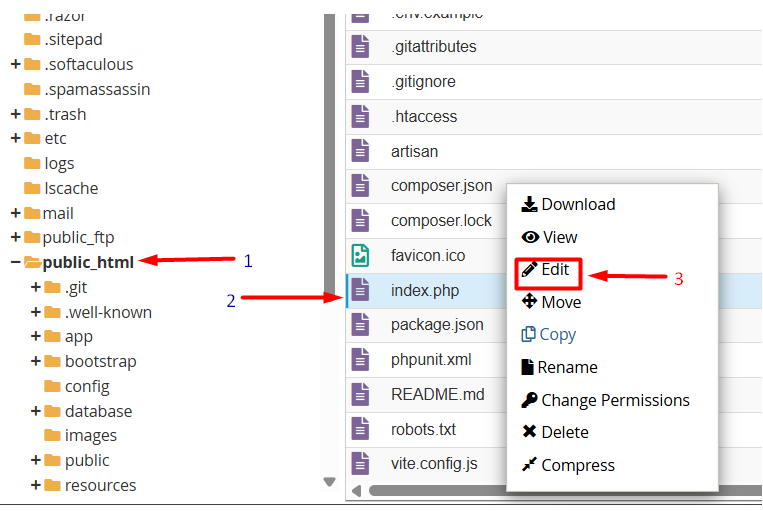
2. Remove the ( . . / ) part to correct the paths relative to the index.php file, so the modified lines look like
* require __DIR__ . ‘/../vendor/autoload.php’; ⟶ require __DIR__ . ‘/vendor/autoload.php’;
* $app = require_once __DIR__ . ‘/../bootstrap/app.php’; ⟶ $app = require_once __DIR__ . ‘/bootstrap/app.php’;
3. Save the changes to index.php.

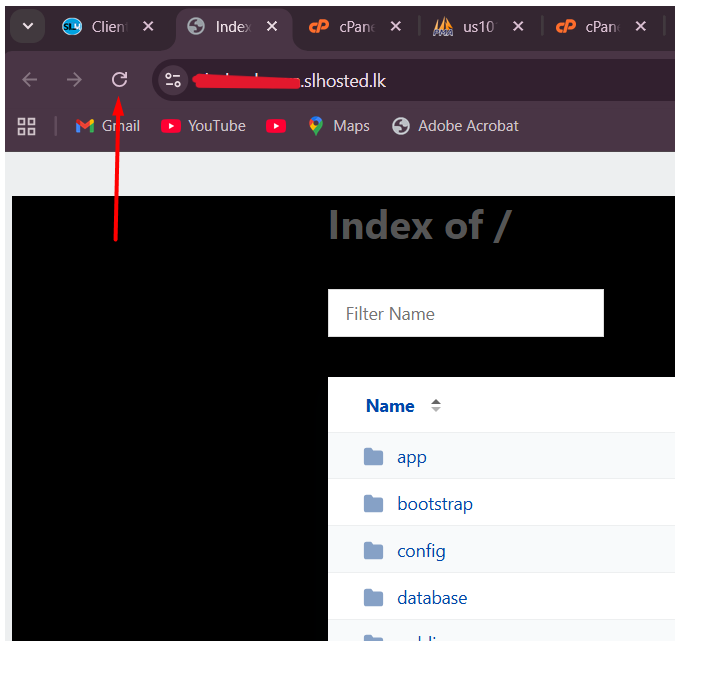
10. Go to your domain and refresh it.